How to Step Up Online Scheduling - A Seamless Experience for Professionals and Customers
In this guide, we'll walk you through the process of setting up online scheduling for your professional services, as well as how customers can easily book a slot to avail of your services. Whether you're a hairstylist, a personal trainer, a therapist, or any other professional offering services, online scheduling can save time and make the booking process smoother for everyone involved. Let's get started!
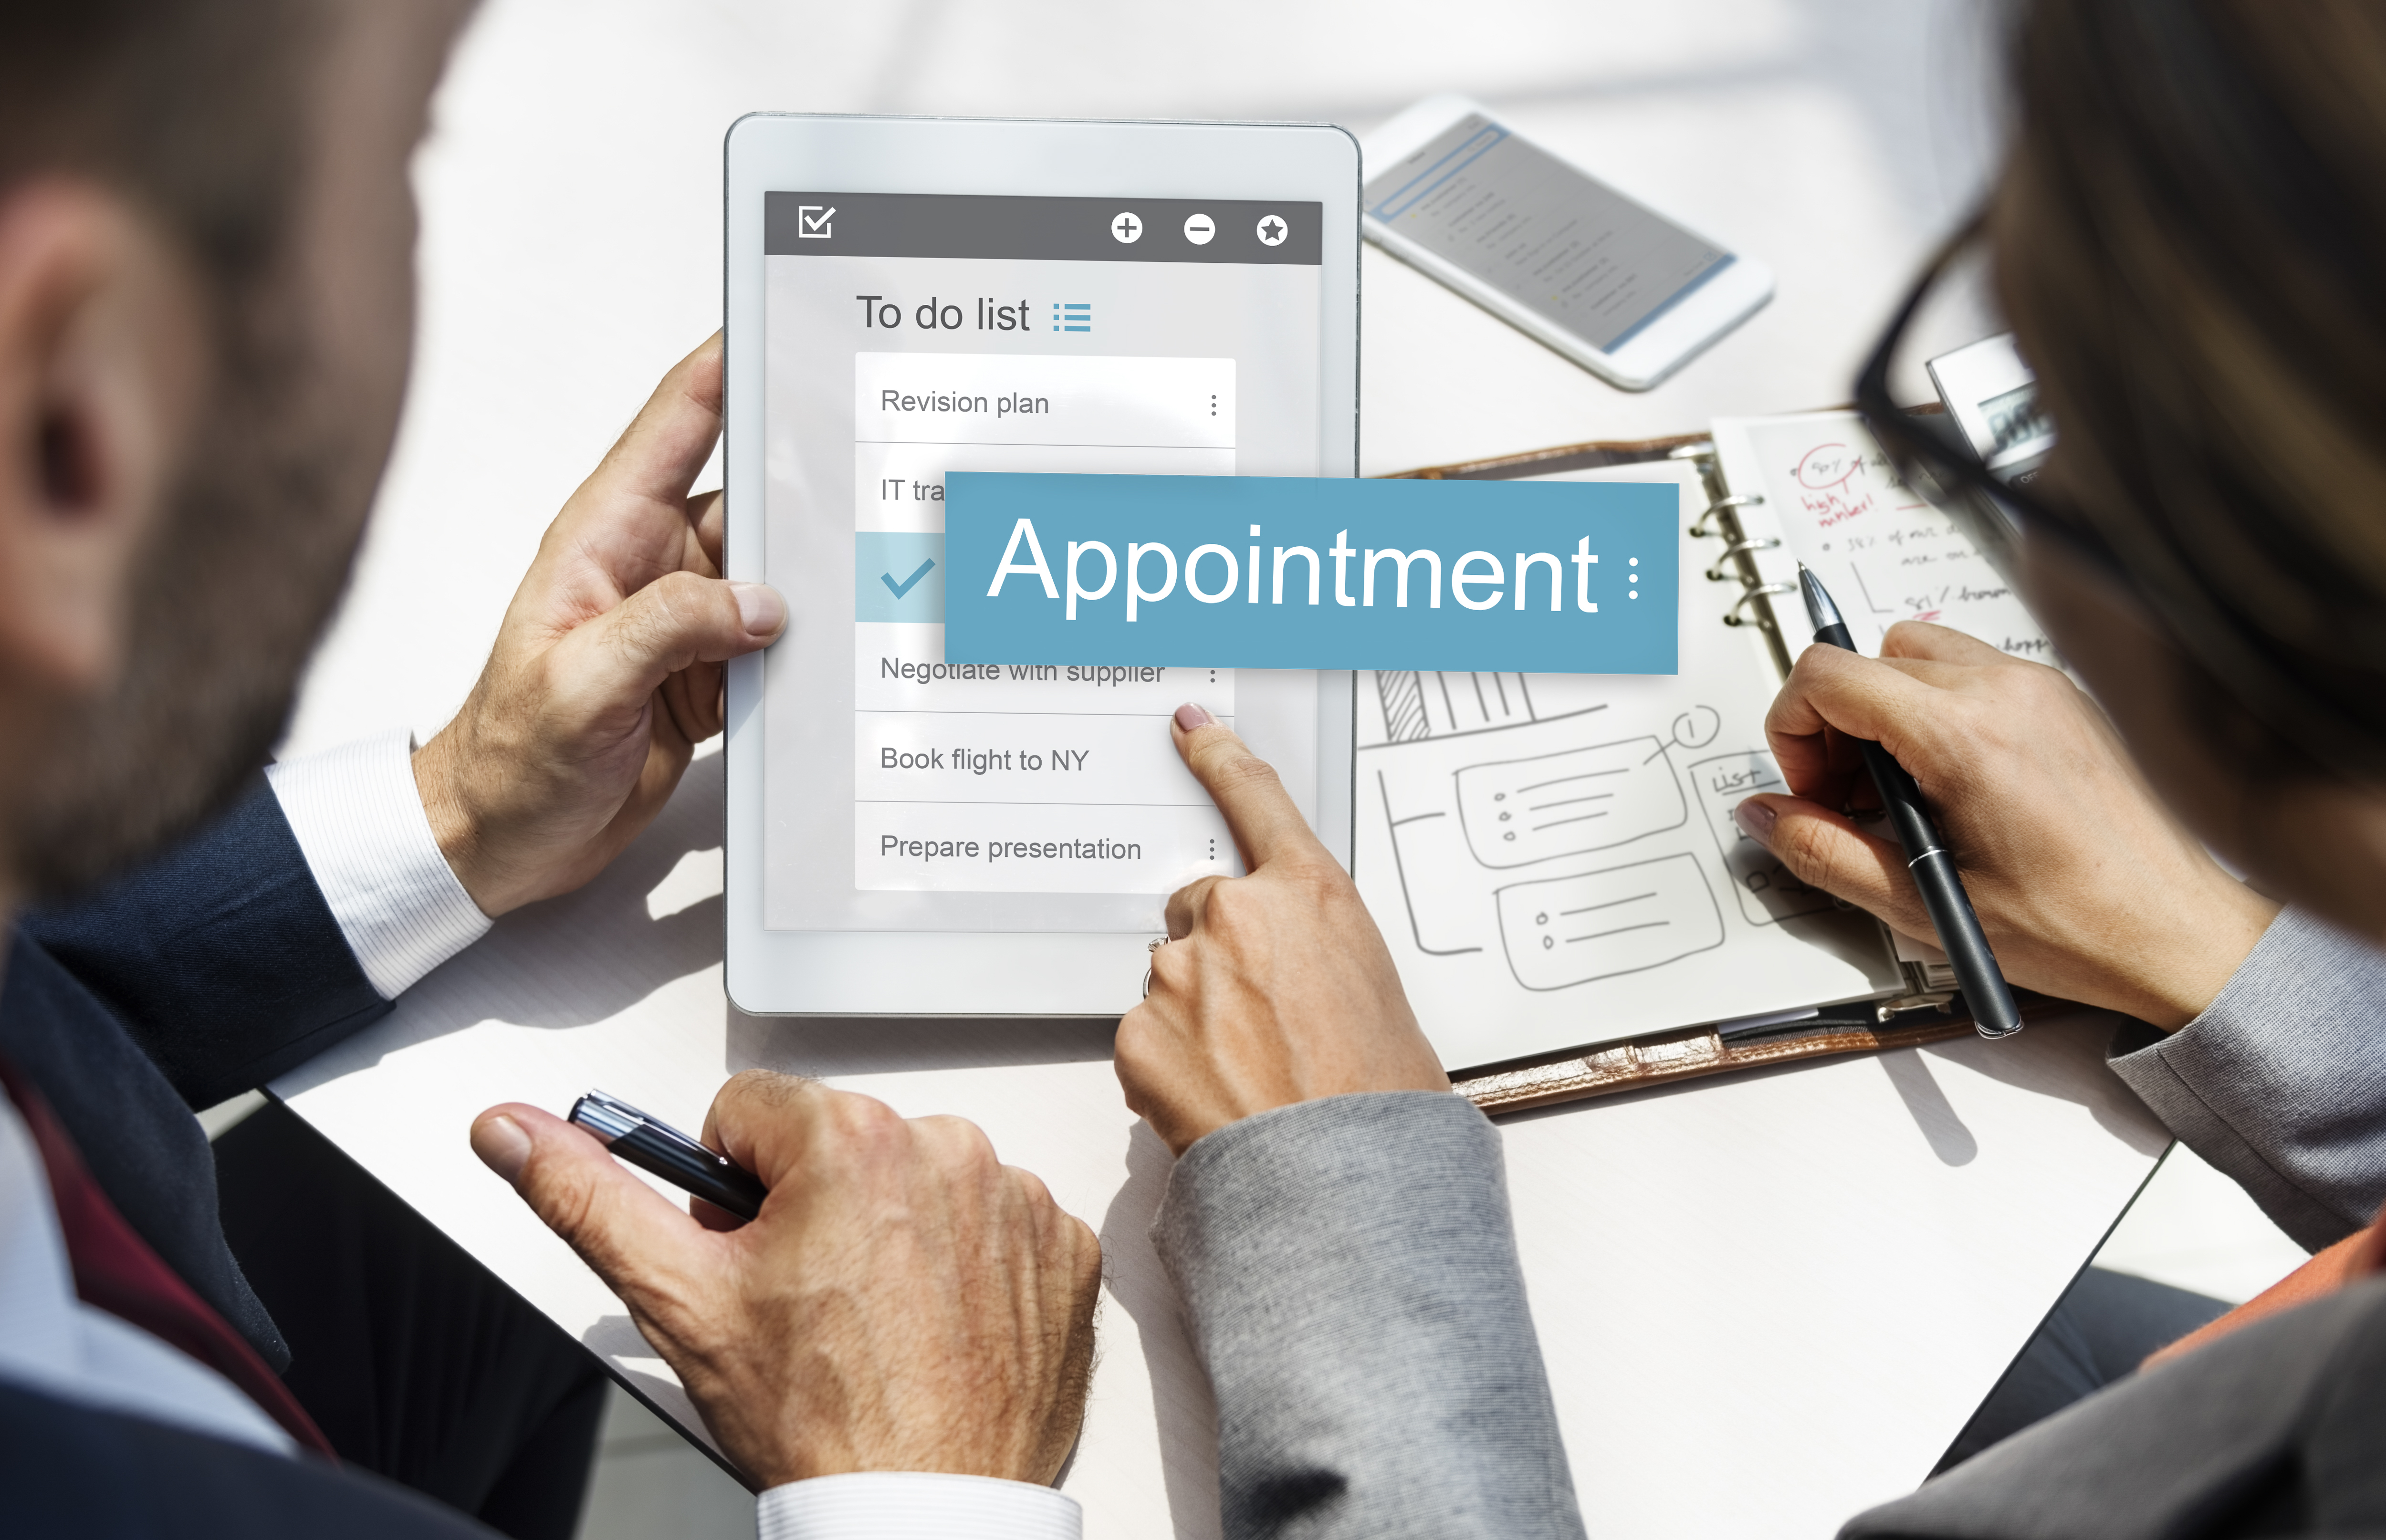
 Amidst whispers, two friends find hope in "Appointment" – a gateway to cherished
experiences & dedicated professionals. A journey worth embracing together.
Part 1: Setting Up Your Availabilities as a Professional
Step 1: Create an Account or Log In
If you haven't already, sign up on a reliable scheduling platform or log in to your existing account. Look for platforms that are user-friendly and have a good reputation for seamless scheduling.
Step 2: Set Up Your User Profile
Fill in your profile details, including your name, contact information, and a brief description of the services you offer. This will help customers find you easily and understand your offerings.
Step 3: Define Your Availabilities
Specify the days and times when you're available to provide your services. Make sure to include any breaks or time off, so customers can see your real-time availability and choose suitable slots.
Step 4: Define Your Services
List the services you offer with clear descriptions. You can add emojis and prices to make it more visually appealing and understandable for customers.
Step 5: Share Your Scheduling Link
Once your profile and availabilities are set, you'll receive a unique scheduling link. You can share this link on your website, social media profiles, or any other online platform where potential customers can find you easily.
Step 6: Utilize QR Code (Optional)
If you have a physical location or office, you can generate a QR code associated with your scheduling link. Customers can scan this QR code to access your scheduling page directly, making it convenient for walk-in customers.
Part 2: Booking a Slot as a Customer
Step 1: Find the Professional
There are two common ways to find the professional's scheduling page. You can either scan the QR code displayed at their location or office if available, or simply search for their name on the scheduling platform or use the link their provided.
Step 2: Choose the Service
Once you're on the professional's scheduling page, you'll see a list of services they offer. Select the service that matches your needs.
Step 3: Choose the Date
Click or tap on the calendar to choose the date you prefer for the appointment. The available dates will be highlighted for easy selection.
Step 4: Choose the Time
After selecting the date, you'll see the available time slots for that day. Pick the time that suits you best for the service.
Step 5: Confirm the Booking
Double-check your selected service, date, and time, and then confirm the booking. Some platforms might require you to enter your contact information or any special notes at this stage.
Step 6: Receive Confirmation and Reminders
After booking, you'll receive a confirmation email or text message with all the details of your appointment. Additionally, most scheduling platforms send reminders closer to the appointment time to reduce no-shows.
The Best Platform for Easy Online Scheduling
When choosing a scheduling platform, opt for one that offers a simple and intuitive user interface for both professionals and customers. Look for features like minimal clicks for booking, an option to use your phone number for maximum engagement and reminder alerts, as these contribute to a smooth and efficient scheduling process.
With these steps and tips, both professionals and customers can enjoy a hassle-free online scheduling experience, making it easier to manage appointments and access services promptly. Happy scheduling!
